Creamy Dreamy Vanilla: A Ninja Creami Ice Cream Adventure
This simple and delightful Ninja Creami vanilla ice cream recipe puts a fun twist on a classic favorite. With just a handful of ingredients and your trusty Ninja Creami machine, you can whip up a batch of this frozen treat any time of year.
Ingredients You’ll Need:
- Whole Milk – for a rich and creamy base
- Heavy Cream – the key to a luxurious texture
- Full-Fat Cream Cheese – adds a subtle tang and extra creaminess
- Vanilla Bean Paste – infuses the ice cream with a deep vanilla flavor
- Sugar – to sweeten the deal (adjust to your preference)
Let’s Get Churning:
-
Prep the Cream Cheese: Start by softening the cream cheese. Pop it in the microwave for a quick 10 seconds to make it easier to work with.
-
Combine the Ingredients: In a large bowl, combine the softened cream cheese and sugar. Gradually whisk in the milk, heavy cream, and vanilla bean paste until you have a smooth and well-blended mixture.
-
Freeze the Mixture: Pour the ice cream mixture into your Ninja Creami pint container. Secure the lid tightly and place it in the freezer on a flat surface for a full 24 hours. This is crucial for achieving the right consistency.
-
Ninja Creami Time: After 24 hours, take the pint container out of the freezer and remove the lid. Follow the instructions in your Ninja Creami quick start guide to assemble and set up the machine. Select the ice cream setting and let the machine work its magic!
-
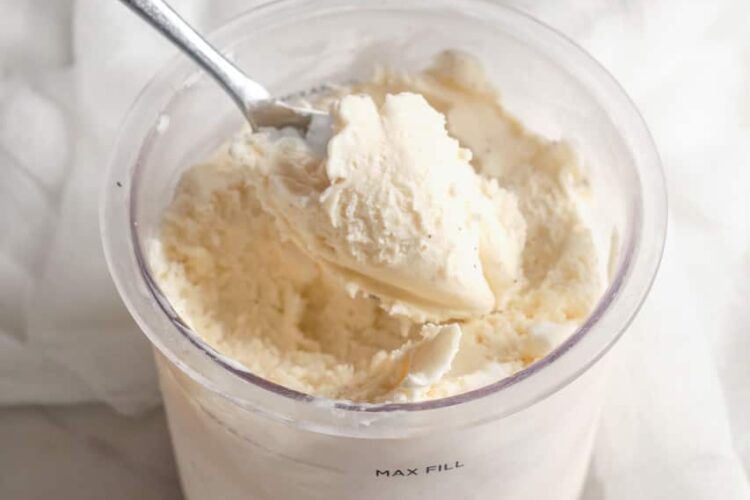
Smooth and Serve: Once the Ninja Creami has finished processing, check the consistency. If needed, use the re-spin function for an even smoother texture. If it’s still not quite right, add a splash of milk or cream and re-spin. Scoop, serve, and enjoy your homemade vanilla ice cream!
Tips for Ice Cream Success:
- Freezing is Key: Make sure the ice cream base is completely frozen solid before processing. This is essential for the Ninja Creami to work its magic and create a smooth, creamy texture.
- Plan Ahead: Since freezing takes a full 24 hours, plan ahead and prepare the ice cream base in advance.
- Re-Spin for Smoothness: If your ice cream isn’t as smooth as you’d like after the first processing, don’t hesitate to use the re-spin function.
- Sweetness Control: Adjust the amount of sugar to your liking. Start with the recipe’s recommendation and add more or less depending on your preference.
- Chill Mix-Ins: If you’re adding mix-ins like chocolate chips or fruit, chill them beforehand for the best results.
Flavor Adventures:
- Vanilla Variations: Use vanilla extract if you don’t have vanilla bean paste.
- Mix-In Mania: Get creative with mix-ins! Chocolate chips, dried fruit, toffee pieces, and nuts are all delicious additions.
- Nutty Delights: Swirl in some peanut butter or almond butter for an extra layer of flavor.
- Creamy Alternatives: While heavy cream provides the richest texture, you can experiment with half-and-half or single cream for a lighter version.
Storing Your Frozen Creation:
- Prep Ahead: Remember to prepare the ice cream base at least 24 hours before you want to churn it.
- Freezer Storage: Store leftover ice cream in an airtight, freezer-safe container for up to a month.
FAQs:
Why does the Ninja Creami require 24 hours of freezing?
Unlike traditional ice cream makers, the Ninja Creami doesn’t have a built-in cooling element. Pre-freezing the mixture ensures it’s solid enough for the machine to create a smooth and creamy ice cream.
How long can I store Ninja Creami ice cream in the freezer?
You can store your homemade Ninja Creami ice cream in the freezer for several weeks. Make sure it’s in an airtight container to prevent freezer burn. When you’re ready to enjoy it again, you can run it through the Ninja Creami on the same setting for a freshly churned texture.
Homemade Ninja Creami Vanilla Ice Cream
A rich and creamy homemade vanilla ice cream made effortlessly with the Ninja Creami. Perfect for a smooth, delicious treat with just a few simple ingredients.
Ingredients
- 1 cup (240ml) whole milk
- ¾ cup (180ml) heavy cream
- 1 tablespoon cream cheese
- 1 teaspoon vanilla bean paste
- ⅓ cup (67g) sugar
Instructions
- Microwave the cream cheese for 10 seconds in a large bowl.
- Stir in the sugar, then gradually mix in the milk and heavy cream until smooth.
- Pour the mixture into a Ninja Creami pint, cover, and freeze for 24 hours.
- Remove from the freezer, take off the lid, and process using the ice cream function.
- If needed, re-spin for a smoother texture, adding a splash of cream or milk if necessary.
- Serve immediately.
Nutrition Information (Per Serving)
Calories: 270 | Carbohydrates: 22g | Protein: 3g | Fat: 19g | Saturated Fat: 12g | Cholesterol: 61mg | Sodium: 47mg | Sugar: 22g | Calcium: 108mg
